Elevation
The Elevation tool adds and modifies elevation along a road, giving control over the road's vertical profile by defining elevation values at specific points along its length.
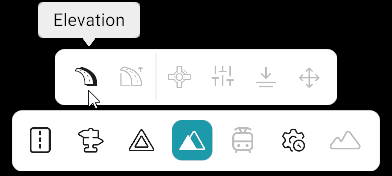
The Road Elevation editor can be opened two ways: through the Elevation tool, or through the Road Properties panel. Both paths open the same editor.
How to Use Elevation Tool and Open Elevation Panel
| Method | Steps |
|---|---|
| 1. Using the Elevation Tool | 1. Activate the Elevation tool. 2. Select a road. 3. The Road Elevation panel opens. The Elevation tool can be activated whether or not a road is already selected. If no road is selected yet, select one after activating the tool to open the panel. |
| 2. Using Road Properties | 1. Select a road to open the Road Properties panel. 2. Click Open Elevation Editor. 3. The Road Elevation panel opens. |
Set the Road Elevation
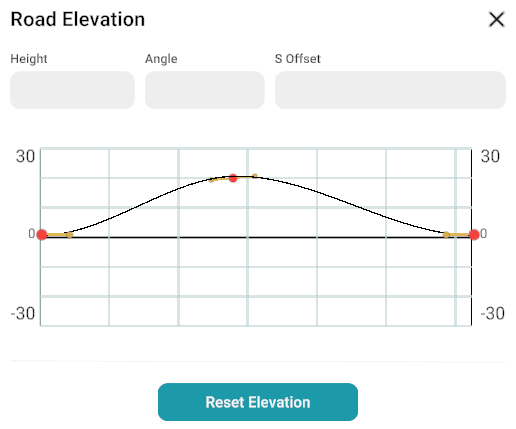
When the panel opens, a road at zero elevation shows a red elevation node at its start and at its end.
- Select an elevation node.
- Enter the required value in the Height field — height values are specified in meters.
- To add an elevation point elsewhere along the road, right-click at the desired position.
- Select the newly added point and set its Height value.
- Add and adjust further elevation points the same way.
Elevation Parameters
| Parameter | Controls | Range |
|---|---|---|
| Height | The elevation at the selected point | −1000 m to 1000 m |
| S Offset | The selected point's position along the road | — |
| Angle | The twist, or rotation, of the road at the selected point | — |
Road Elevation panel screenshot
Notes
- Reset Elevation: Restores the road to its default elevation i_e 0.
- Unselect Elevation Tool: Press Esc to unselect the Elevation tool.