Single Object
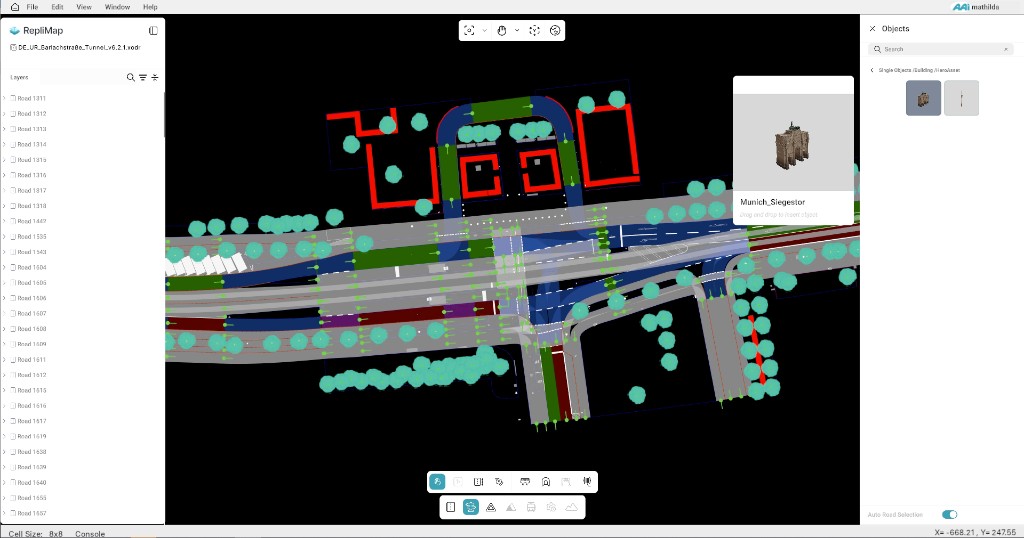
Clicking Single Object opens the Objects Panel on the right side of the RepliMap canvas, enabling users to add individual objects or assets directly to the map or scene.
Each object is defined according to its type and subtype as specified in the OpenDRIVE document, ensuring consistency with the road network model.

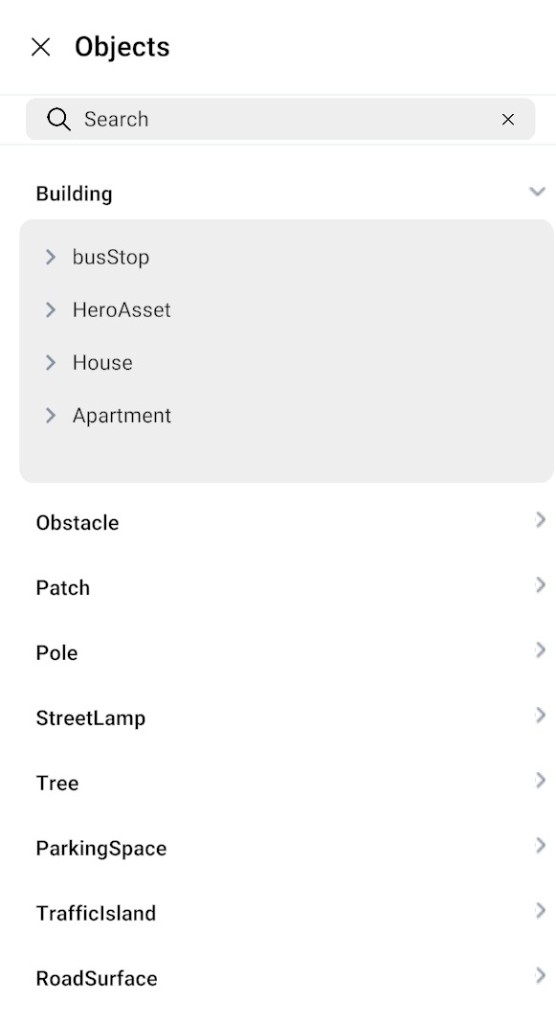
The panel provides a variety of object categories, including:
- Buildings
- Obstacles
- Patches
- Poles
- Streetlamps
- Trees
- Parking spaces
- Traffic islands
- Road markings
- Road surfaces
How to Add Single Objects
- Open the Objects Panel to view all available object categories.
- Browse objects by category or use the Search Bar to quickly find an object by name.
- Select the desired object and drag it onto the canvas.
- Drop the object at the preferred location on the map.
- Click the placed object to open the Object Properties Panel on the right side.
- Configure and update the object's attributes from the properties panel.
Auto Road Selection Tool
The Auto Road Selection tool controls which road receives the object when you place it on the canvas.
| Setting | Behaviour |
|---|---|
| Enabled | Objects are automatically added to the nearest road. |
| Disabled | Select the road using Right-Click before placing; the object is placed only on the selected road. |
For complex junctions where automatic detection may be wrong, turn Auto Road Selection off, Right-Click the road you want, then place the object with drag and drop.