Lane Sections
Lane sections partition a lane or road along its length into stretches where properties—width, type, marking, height—stay uniform or follow a defined rule. They are essential for tapers, turn pockets, and junction approaches.
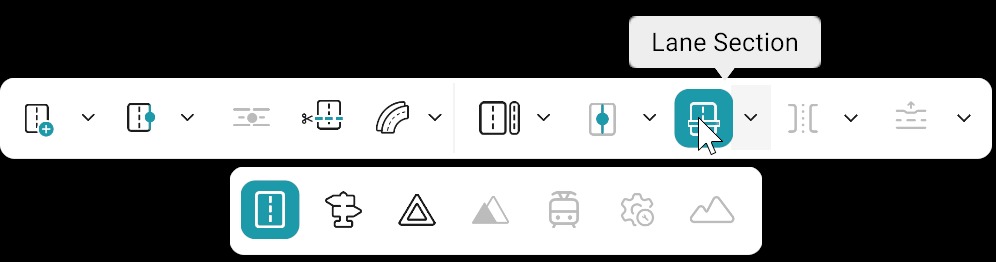
Lane Section Tool on the Canvas
Select the road on the canvas, then turn on the Lane Section tool from the Road editing bar (above the canvas, in the Road tool group). The screenshot in the next section shows a lane section boundary on the road and the Lane Section sidebar.
- Add a lane section — Left-click on the selected road on the canvas to place a new section boundary.
- Move a lane section — Drag the handle on the section boundary (the divider across the road) to slide it along the length of the road.
- Delete a lane section — Use Delete lane section from the dropdown next to the Lane Section tool in the Road editing bar (same idea as Delete anchor on other road tools). With delete mode active, click the lane section boundary on the canvas to remove it.
When you Cut road, review lane sections on both new segments.
Lane Section Panel
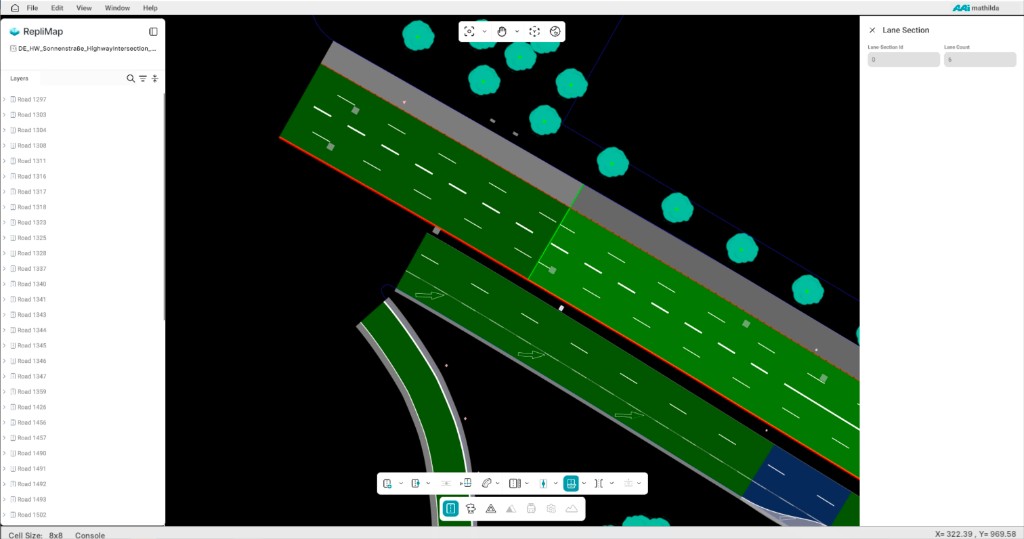
When a lane section is selected (often double-click the road to select lane section level—see selection), the Lane Section sidebar lists identifiers for that section. The image shows the canvas with a section boundary and the panel together.
| Field | Purpose |
|---|---|
| Lane section ID | Identifier for this section along the road (often 0, 1, … along the reference). |
| Lane count | Number of lanes covered by this section on that road. |
Boundaries should sit at clear stations—often aligned to markings or geometry. After moving or deleting sections, update Width tags and Lane marking if the cross-section or paint rules change.
Why Sections Matter
- Road rules often change before and after a junction—sections capture that.
- Simulation and AD tools rely on consistent lane properties within a section.