Lane Marking
The Lane marking tool is used to define and customise lane markings along the selected road lane. You can apply different marking styles, colours, widths, and patterns on the same lane according to road design requirements.
On the canvas, lane markings are driven by anchors placed along the selected lane. Each anchor marks where a lane marking configuration starts or changes.
Lane Marking Anchors
Lane marking anchors sit on the lane and define lane marking regions and transitions.
- Several anchors can exist on the same lane.
- Different styles can apply between anchors (segment by segment).
- Anchors give precise control over how markings change along the road.
- You can select an anchor and drag it along the road to move its position.
Enable the Lane Marking Tool
You can turn on lane marking in either of the following ways.
1. From the Lane Property Panel
- Open the Lane property panel (with the target lane selected).
- Go to the Advanced tool section.
- Enable the Road Marking toggle.
- Add an anchor at the desired position on the lane.
2. From the Road Toolbar
- Triple-click the target lane on the canvas so lane selection is active (see selection on the canvas).
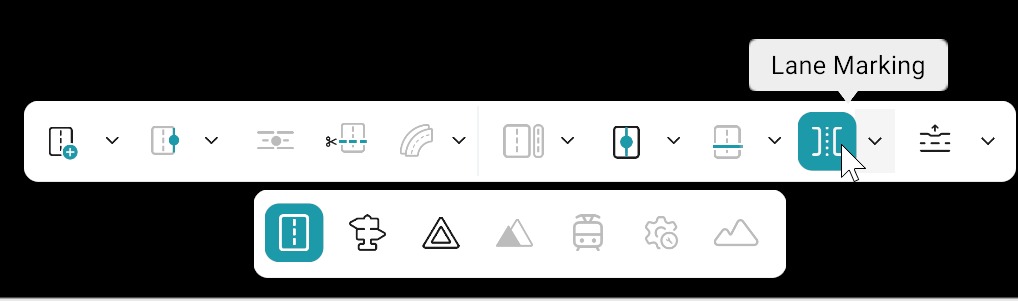
- The Lane marking icon becomes available in the Road toolbar.
- Select the Lane marking tool.
-
Click the dropdown arrow next to the tool icon. Two options appear:
- Add lane marking
- Delete lane marking
-
Choose Add lane marking.
- Click on the lane where you want to place a lane marking anchor.
Delete a Lane Marking Anchor
Anchors can be removed from the Road toolbar.
- Select the Lane marking tool in the Road toolbar.
- Open the dropdown next to the tool icon.
- Choose Delete lane marking.
- Click the lane marking anchor you want to remove.
Open the Lane Marking Panel
How you open the panel depends on how you activated the Lane marking tool.
| Activation | Action |
|---|---|
| From the Lane property panel | Left-click the anchor to open the Lane marking panel. |
| From the Road toolbar | Right-click the anchor to open the Lane marking panel. |
Lane Marking Panel Attributes
The Lane marking panel exposes the following properties.
| Property | Description |
|---|---|
| Lane marking type | Lane marking style. |
| Lane marking colour | Colour of the lane marking. |
| Lane width | Width of the lane marking. |
| Lane height | Height / elevation of the lane marking. |
Define Line Option
Enable the Define line toggle to build custom lane marking patterns—for example dashed or segmented lines.
When Define line is on, these extra properties appear:
| Property | Description |
|---|---|
| Length | Length of each lane marking segment. |
| Space | Gap between lane marking segments. |
| S offset | Start offset of the marking pattern along the lane (s-based position). |
Scope and Quality
- Markings cover longitudinal lines along lanes (solid, dashed, double, custom dash via Define line) and fit lane sections and junction context.
- Prefer markings that match local highway rules for your scenario; misalignment with lane width or topology can show up in review and in simulators.